
 Reading Time: 6 minutes
 DIY Cabinet Door Bumper: The Glue Stick Hack
This post may contain affiliate links. Read the disclosure.
Does it annoy you when a cabinet door slams shut every time you close it? That constant banging can get frustrating, especially when it happens throughout the day.
Before you buy special cabinet bumpers, a simple glue stick can be turned into a DIY cabinet door bumper with just a few basic supplies.
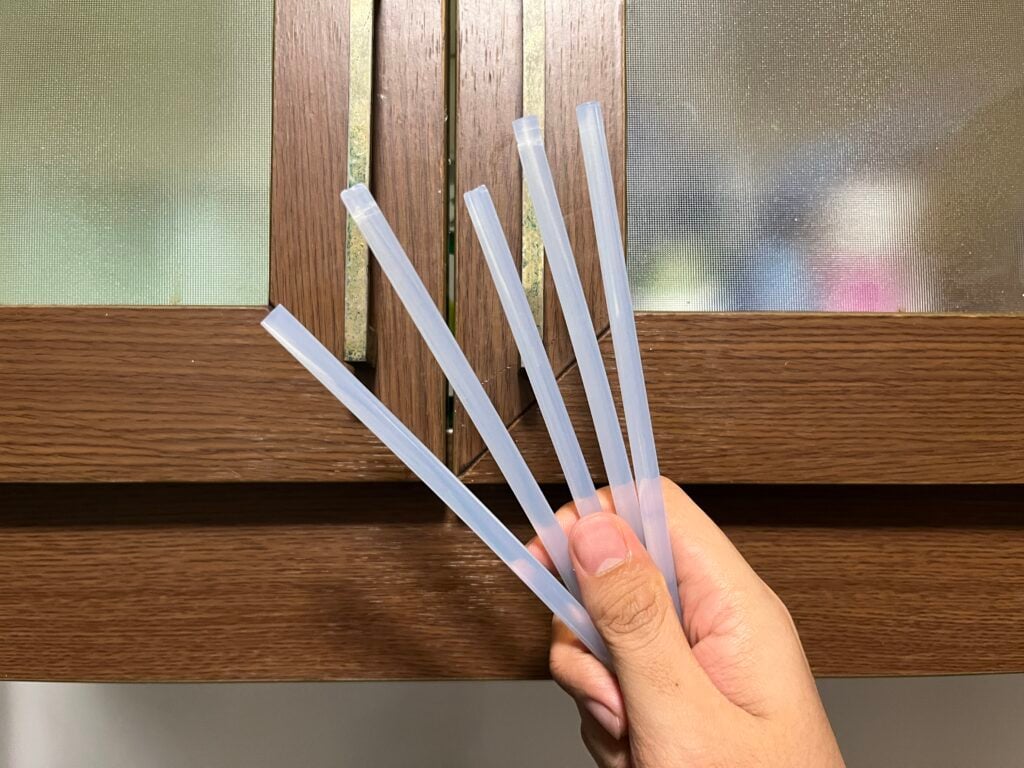
This guide will show you step by step how to make a glue stick cabinet door bumper and where to place it for the best results. It takes only a few minutes and uses items you may already have at home.
Note that this simple hack works for most standard cabinet doors, but if you want something ready to use and more permanent, specialty cabinet bumpers could be a better choice.
Now, let’s get the materials ready and make this easy cabinet door bumper.
Materials Needed for the Glue Stick Cabinet Bumper
You only need a few simple items to make this DIY cabinet bumper.
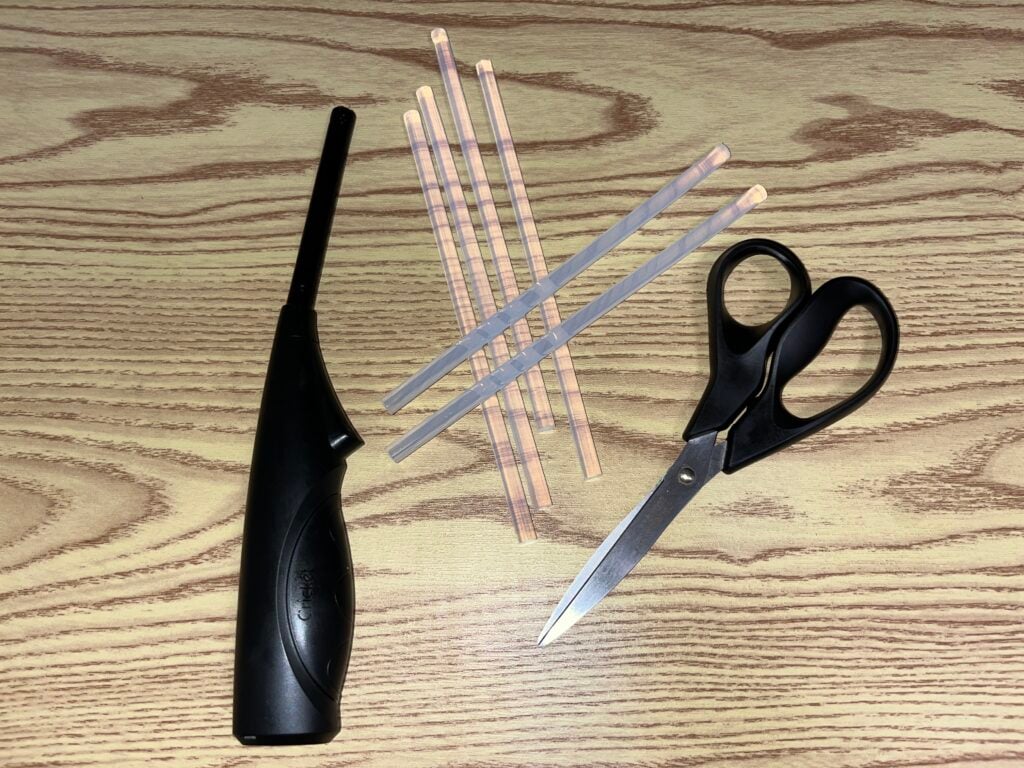
- Glue stick
- Scissors
- Lighter
Be extra careful when using this hack on painted, wood, or plastic surfaces. Heat and adhesive can affect some finishes, so test it on a small, hidden spot first to make sure it works well for your cabinet.
Table of Contents
How to Make a DIY Cabinet Door Bumper With a Glue Stick
This hack takes just a few quick steps. The goal is to create a small, soft bumper that sits between the cabinet door and frame.
🙋♀️If you like what you are reading, then click like and subscribe to my newsletter. We share tips to waste less time and money.
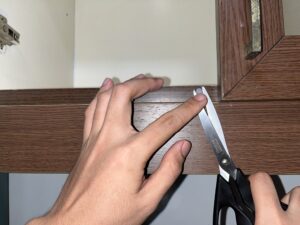
Step 1: Slice the Glue Stick
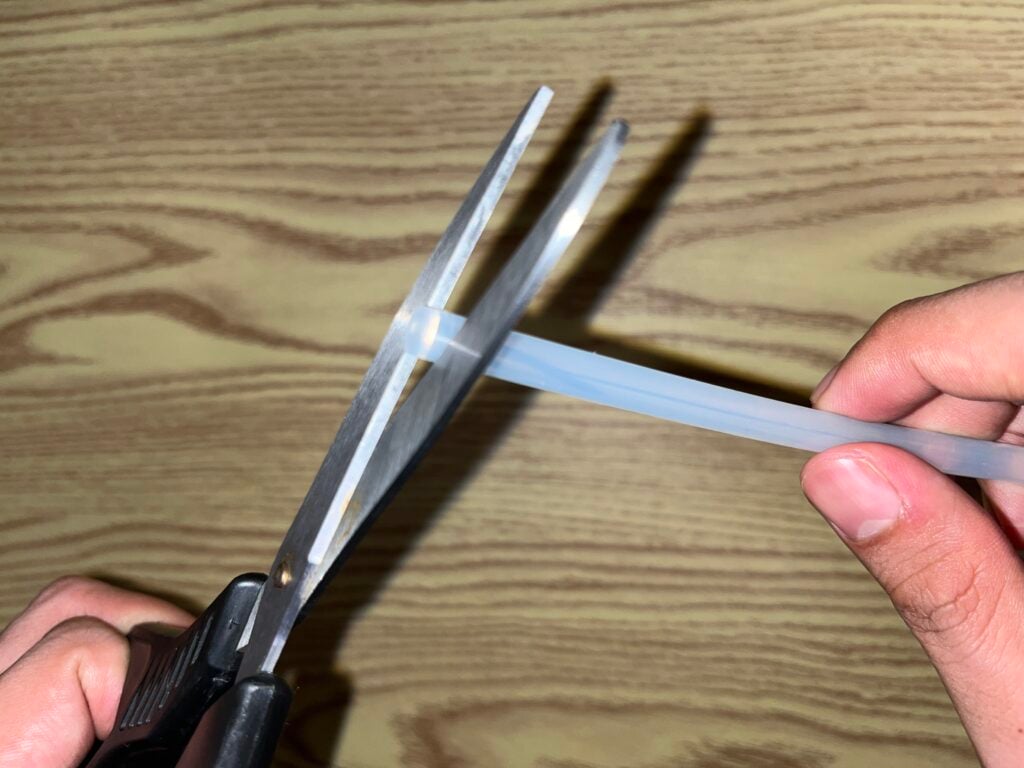
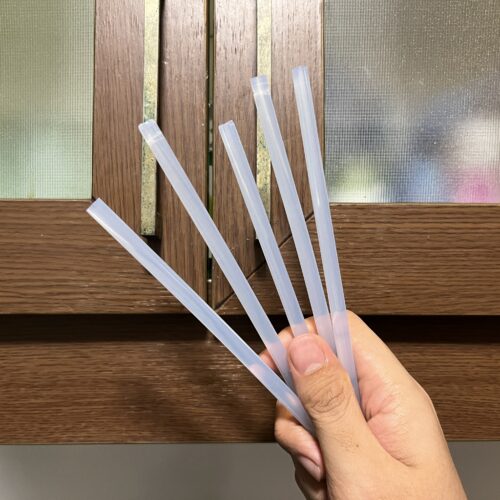
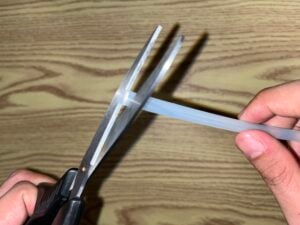
Use scissors to cut the glue stick into small, even pieces. A small section is usually enough to create one bumper, so you can make several pieces from a single glue stick.
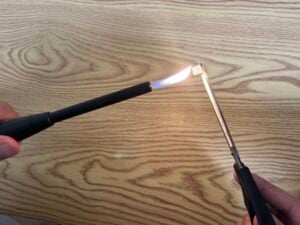
Step 2: Warm the Glue Stick
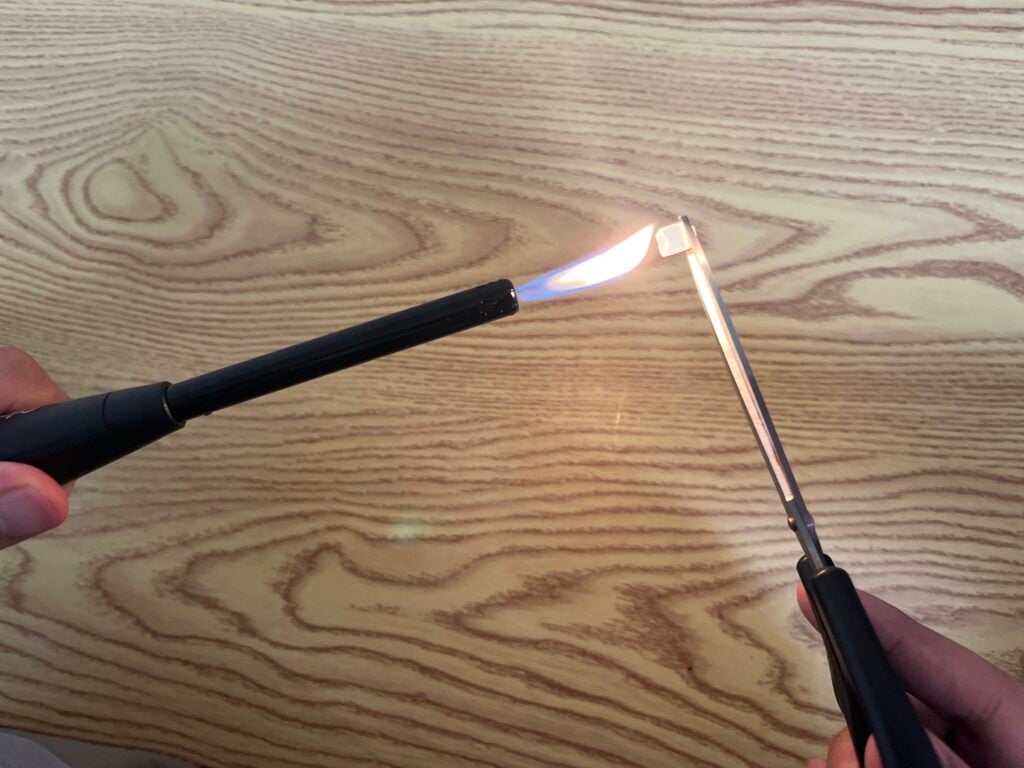
Use the scissors to safely hold the small glue-stick piece while gently warming one side with a lighter for a few seconds. You only want the surface slightly soft and tacky, not melted. Be careful not to overheat it.
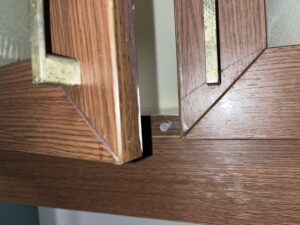
Step 3: Stick It Inside the Cabinet Door
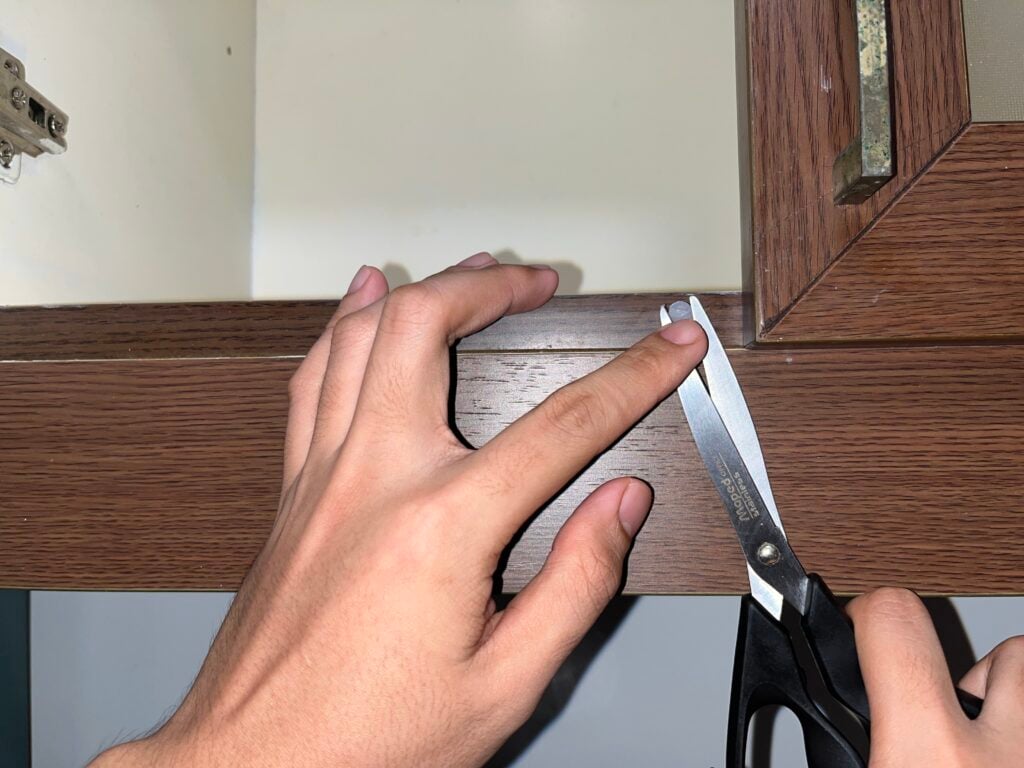
Press the softened side onto the inside edge of the cabinet door where it touches the frame when closed. Hold it in place for a few seconds so it can stick securely.
For extra cushioning, you can optionally add a piece to both the upper and lower parts of the door.
Step 4: Let It Dry and Try It
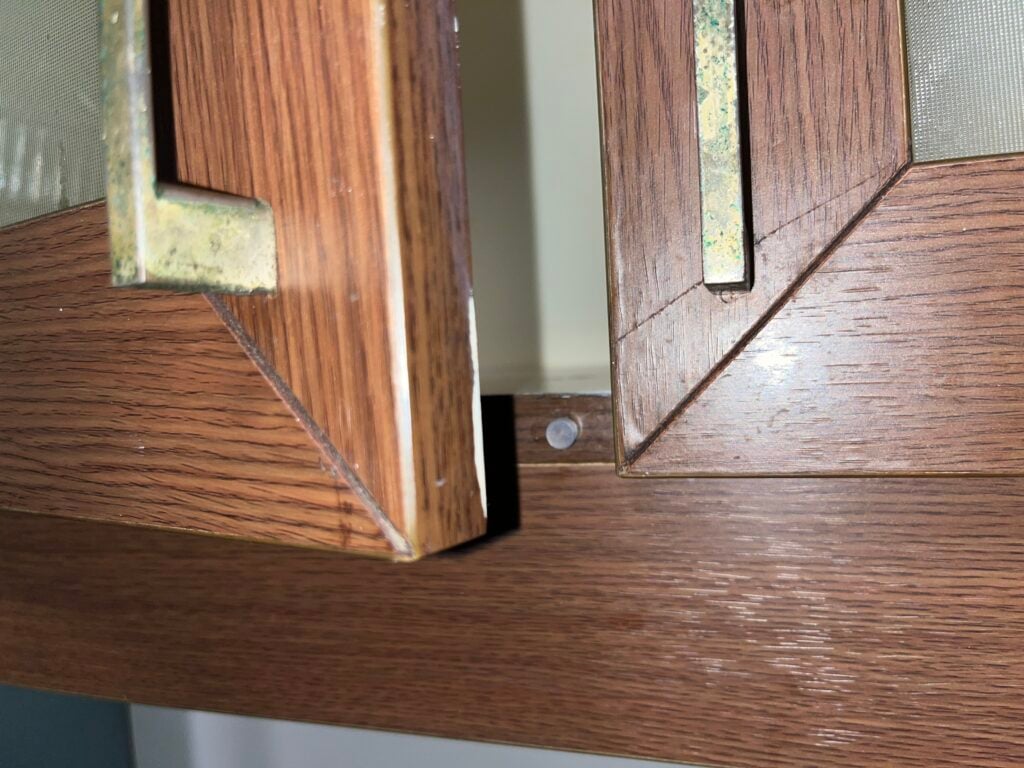
Allow the bumper to cool and dry for a moment so it can set in place. Then close the cabinet door and see how it works. If the door still makes too much noise, check the placement and adjust the bumper as needed.
Tips and Cautions for This DIY Cabinet Bumper
A few simple precautions can help prevent damage to your cabinet finish and make the bumper work better.
- Test first: Try the hack on a small, hidden area before applying it to a visible surface.
- Be careful with paint: Adhesive or heat may affect some painted finishes.
- Protect wood surfaces: Test carefully on finished or delicate wood because heat and adhesive residue may cause damage.
- Use caution on plastic: Heat from the lighter can warp or discolor some plastic surfaces.
- Don’t overheat the glue stick: Warm it just enough to make one side slightly tacky.
- Keep the lighter away from flammable materials: Use it carefully and briefly.
- Clean the surface first: Remove dust and dirt so the bumper has a better chance of sticking.
- Check the placement: Make sure the bumper sits where the door naturally meets the frame.
Related Video: Easy Rubber Band Trick to Keep Clothes on Hangers

We’ve turned our best tips into quick-read books, and we’re publishing new ones every week. See the full collection here: amazon.com/author/chachingqueen.
Why a Glue Stick Works as a Cabinet Door Bumper
A glue stick can work as a simple cabinet bumper because the material has some flexibility and can provide a little cushioning when the door meets the frame.
When placed at the contact point, the small piece creates a buffer between the two surfaces. This helps soften the impact and can make the cabinet door close with less noise.
The trick is all about placement. A small piece positioned where the door hits the frame can make a noticeable difference without changing how the cabinet door normally closes.
How to Make a DIY Cabinet Door Bumper With a Glue Stick
Ingredients
- Glue stick
- Scissors
- Lighter
Instructions
- Use scissors to cut the glue stick into small, even pieces. A small section is usually enough to create one bumper, so you can make several pieces from a single glue stick.

- Use the scissors to safely hold the small glue-stick piece while gently warming one side with a lighter for a few seconds. You only want the surface slightly soft and tacky, not melted. Be careful not to overheat it.
- Press the softened side onto the inside edge of the cabinet door where it touches the frame when closed. Hold it in place for a few seconds so it can stick securely.
- Allow the bumper to cool and dry for a moment so it can set in place. Then close the cabinet door and see how it works. If the door still makes too much noise, check the placement and adjust the bumper as needed.
DIY Glue Stick Cabinet Door Bumper: A Simple Way to Stop Slamming
A noisy cabinet door doesn’t need an expensive solution. With a small piece of a glue stick, a pair of scissors, and a lighter, you can make a simple bumper that helps soften the impact when the door closes.
It’s a quick little hack worth trying if you have a cabinet that constantly bangs shut. Just remember to test it first, especially on painted, wood, or plastic surfaces.
Have you tried using a glue stick as a DIY cabinet door bumper? If this hack worked for you, share it with someone who could use a quieter cabinet!
🙋♀️If you like what you just read, then subscribe to my newsletter and follow us on YouTube.👈