
How to Reshape a Cardboard Box (Turn a Square Into a Rectangle)
This post may contain affiliate links. Read the disclosure.
Sometimes the box you have isn’t the box you need. If you’re packing something long, narrow, or oddly shaped, a standard square box might waste space or just not work at all.
The good news? You can reshape most cardboard boxes into a custom rectangle using simple tools you already have.
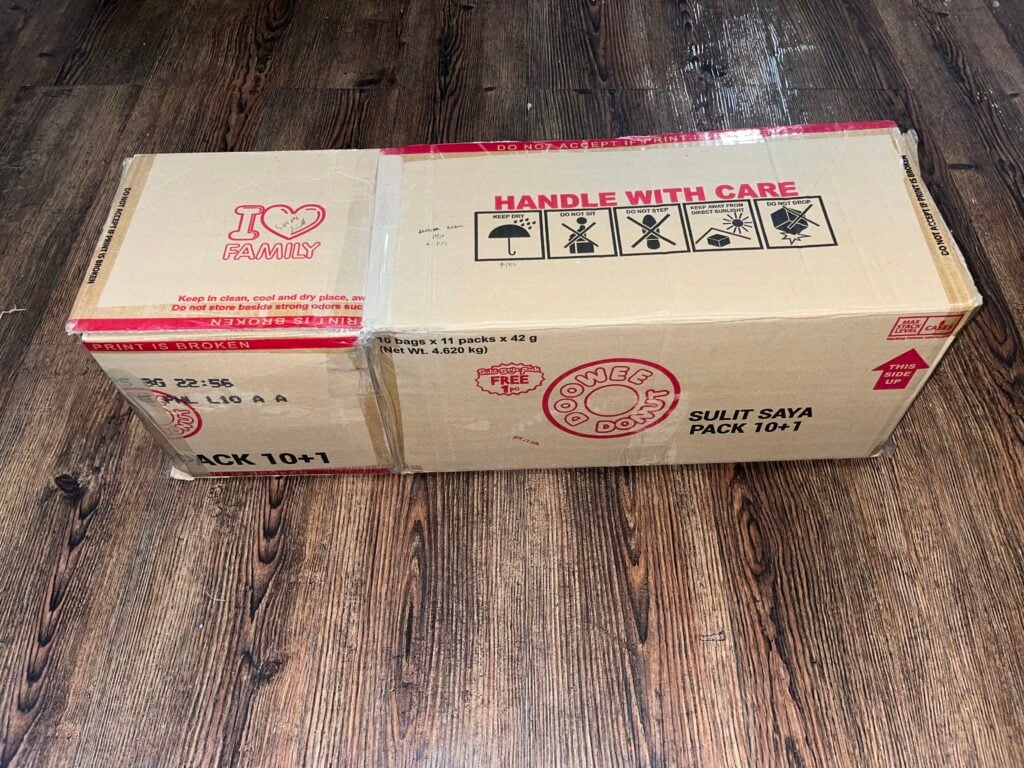
In this guide, we’ll walk you through how to reshape a regular box into a longer or slimmer rectangle in just a few easy steps.
No need to buy a new box, just reshape what you already have. Let’s get started.
Table of Contents
Tools You Need to Reshape a Cardboard Box
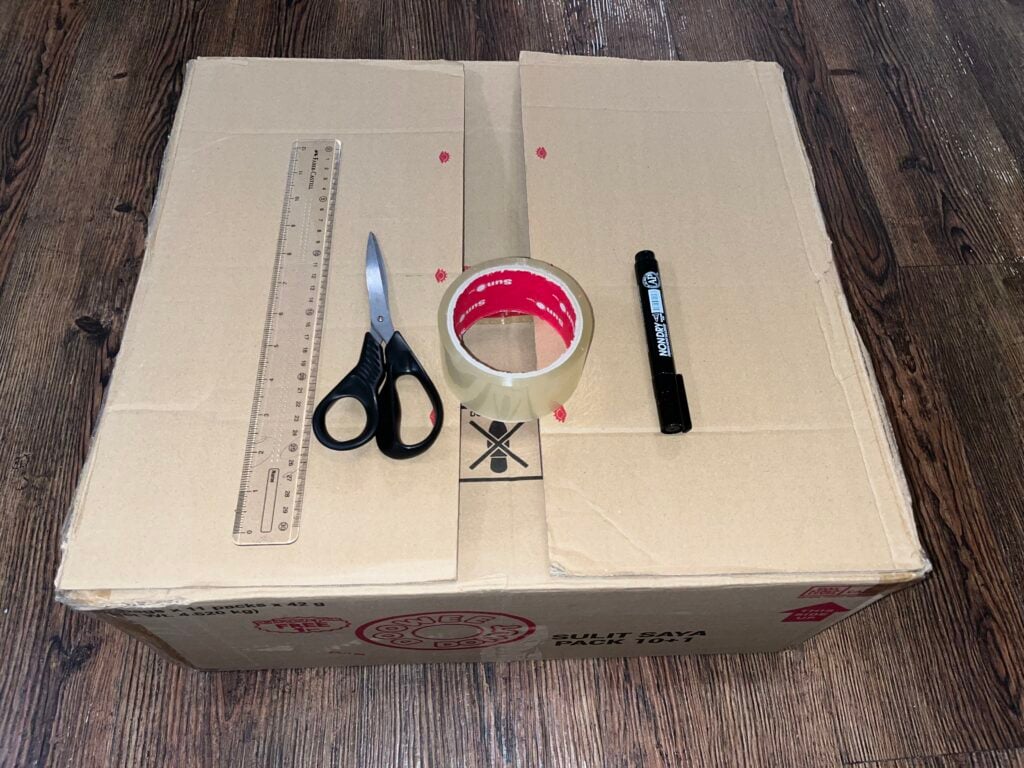
Before you begin, gather these simple items:
- A cardboard box
- Scissors
- Ruler
- Marker
- Packing tape
Make sure you’re working on a flat surface like a clean table or the floor.
How to Clean a Scary, Messy Refrigerator
Step-by-Step Guide to Reshaping a Box into a Rectangle
Follow these 7 easy steps to reshape your box:
Step 1: Measure the Flaps and Mark the New Fold Line
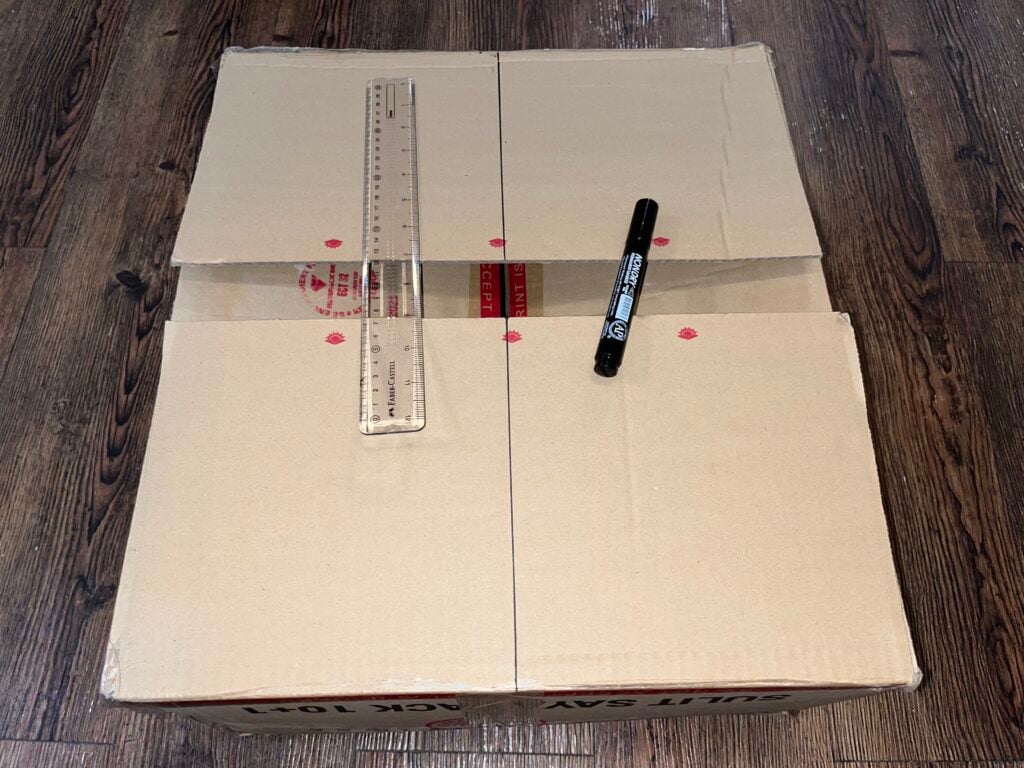
Lay the box flat with the flaps opened out. Decide how narrow or long you want the new shape to be. Use a ruler to measure and mark a vertical line on each flap where the new edge should be. This is where you’ll fold or cut to reshape the box.
Tip: Keep the measurements even on each side to maintain balance.
Step 2: Draw Straight Lines on All Four Flaps
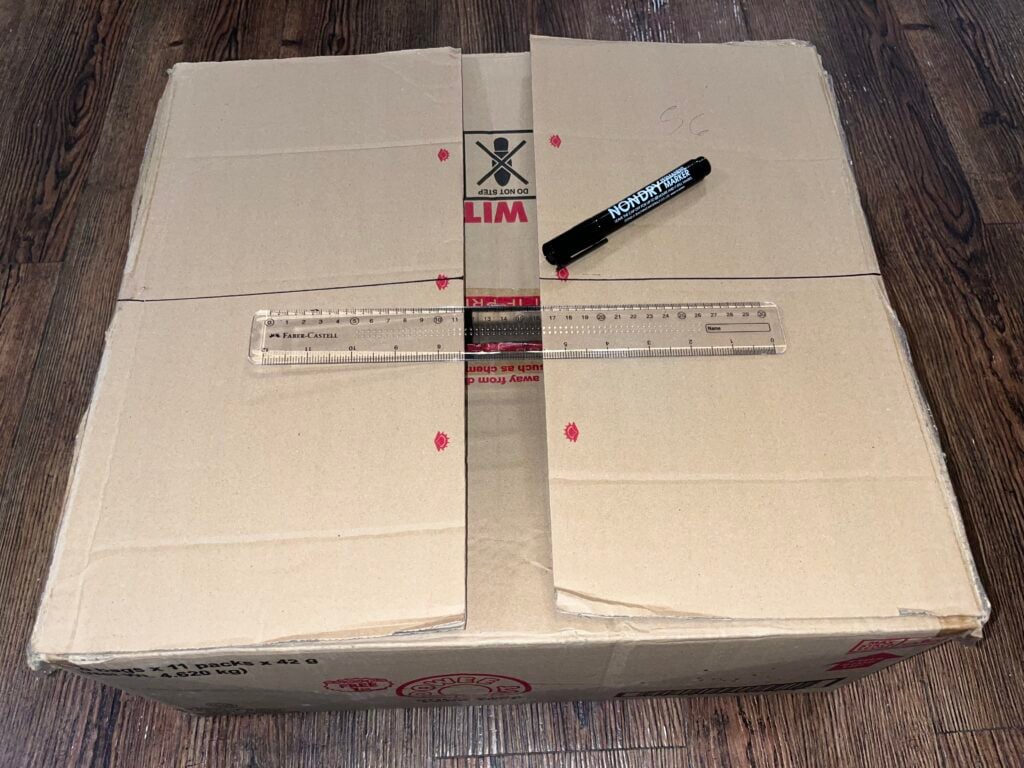
With your marker and ruler, connect the marks vertically along each flap to create straight cutting guides. Do this on both sides of the box, long flaps and short flaps. These lines will shape the new box dimensions.
Step 3: Cut Along the Lines You Drew
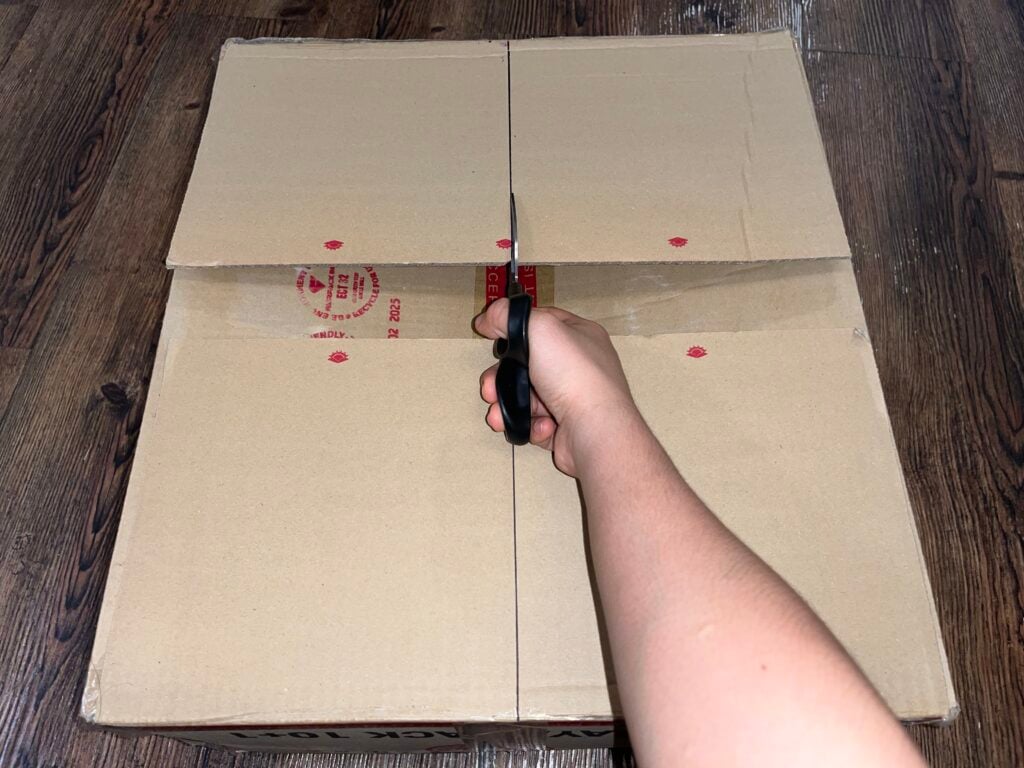
Grab your scissors and carefully cut along the lines. Stop when you reach the base of the flap. This step is what allows the flaps to be repositioned and the box reshaped.
Step 4: Repeat the Same Steps on the Opposite Side

Turn the box around and repeat Steps 1 to 3 on the other two flaps. You’ll now have four clean cutouts, ready to fold in and reshape the box into a new rectangle
Step 5: Fold the Cut Flaps Inward

Now fold the trimmed flaps inward at the new height or width you measured earlier. Push both long and short flaps toward each other so they meet evenly. You should see the box start to form a more rectangular shape.
Step 6: Adjust and Hold the Shape in Place

With all flaps folded in, adjust the corners and edges to line up evenly. Press the sides together to hold the shape and prepare for taping.
Step 7: Tape It All Securely

Use strong packing tape to seal all the edges and flaps. Tape along the top seam, then reinforce the sides and corners to hold the new shape.
Don’t skimp on tape, strong seals make the box stable and ready for use.
We’ve turned our best tips into quick-read books, and we’re publishing new ones every week. See the full collection here: amazon.com/author/chachingqueen.
Benefits of Reshaping a Cardboard Box for Packing
Reshaping a cardboard box isn’t just a space-saver—it makes packing smarter. Here’s why it’s worth doing:
- Custom fit for your items – Avoid excess space that allows things to shift and break.
- Save on shipping costs – Smaller, tighter boxes often mean lower dimensional weight charges.
- Use what you already have – No need to buy a new box for every shape and size.
- Better stacking and storage – Rectangular boxes are easier to organize and fit into tight spots.
- Less packing filler needed – Fewer gaps means less bubble wrap, paper, or foam required.
If you’re moving or shipping multiple items, reshaping your boxes can make everything smoother and more efficient.
How to Fix Gaps in Luxury Plank Flooring
Box Reshaping Tips for Best Results
To make the process easier and cleaner, here are a few simple tips:
- Use a clear ruler and fine-tip marker for precise, straight lines.
- Measure twice, cut once to avoid uneven sides.
- Don’t rush the folds — crease the cardboard slowly to keep it from tearing.
- Reinforce the bottom if you’re carrying something heavy after reshaping.
- Use quality tape — cheap tape won’t hold a reshaped box as well.
Even with a basic cardboard box, a little effort goes a long way in making it look and function better.
How to Reshape a Cardboard Box
Ingredients
- Cardboard box
- Scissors
- Ruler
- Marker
- Packing tape
Instructions
- Lay the box flat with the flaps opened out. Decide how narrow or long you want the new shape to be. Use a ruler to measure and mark a vertical line on each flap where the new edge should be. This is where you’ll fold or cut to reshape the box.

- With your marker and ruler, connect the marks vertically along each flap to create straight cutting guides. Do this on both sides of the box, long flaps and short flaps. These lines will shape the new box dimensions.
- Grab your scissors and carefully cut along the lines. Stop when you reach the base of the flap. This step is what allows the flaps to be repositioned and the box reshaped.
- Turn the box around and repeat Steps 1 to 3 on the other two flaps. You’ll now have four clean cutouts, ready to fold in and reshape the box into a new rectangle.
- Now fold the trimmed flaps inward at the new height or width you measured earlier. Push both long and short flaps toward each other so they meet evenly. You should see the box start to form a more rectangular shape.
- With all flaps folded in, adjust the corners and edges to line up evenly. Press the sides together to hold the shape and prepare for taping.
- Use strong packing tape to seal all the edges and flaps. Tape along the top seam, then reinforce the sides and corners to hold the new shape. Don’t skimp on tape, strong seals make the box stable and ready for use.


Make the Box Fit Your Needs
Reshaping a cardboard box is a simple fix that can make packing a lot more efficient. When your items don’t fit quite right, there’s no need to hunt for a new box, you can just reshape the one you have.
It’s quick, fully customizable, and surprisingly cost-effective. You’ll save space, reduce waste, and get a better fit for whatever you’re packing.
Next time you have a box that’s too bulky or not the right shape, reshape it. It only takes a few minutes, and it works.
If you like what you just read, then subscribe to my newsletter and follow us on YouTube.